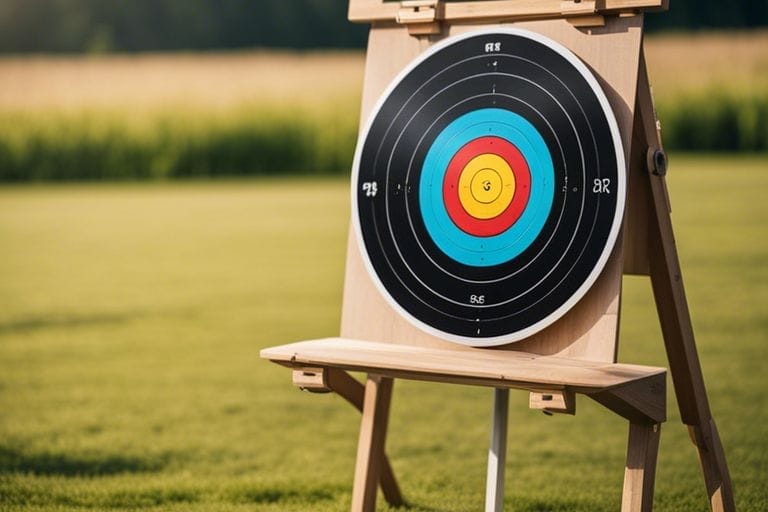
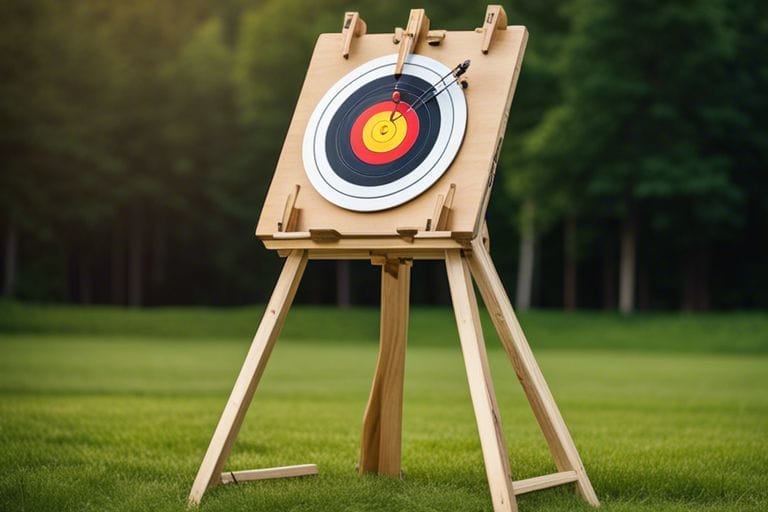
Do you want to create your own archery target stand but aren’t sure where to start? Look no further! In this blog post, you will learn step-by-step instructions on how to make your very own sturdy and durable archery target stand. By following these simple guidelines, you will be able to customize the stand to your preferred height and width, and ensure it can accommodate various types of targets. With just a few materials and a little bit of effort, you will have a reliable archery target stand that you can use for practice, competitions, or just for fun. Get ready to enhance your archery experience and become a pro at making your very own archery target stand.
Key Takeaways:
- Materials: Choose durable and weather-resistant materials such as pressure-treated wood or PVC pipes for the frame, and heavy-duty fabric or straw for the target face.
- Adjustability: Make the target stand adjustable to accommodate different target heights and distances, allowing for a versatile and customizable shooting experience.
- Stability: Ensure the target stand is stable and secure by adding weight to the base, using ground stakes, or incorporating cross braces for additional support.
Materials and Tools Required
Obviously, the first thing you will need are the materials and tools to build your archery target stand. You can find a comprehensive list of materials and tools required for this project on Archery Target Stand and Range Plans. This will give you a clear idea of what you will need before you begin.
List of Necessary Materials
When it comes to making an archery target stand, you will need a few key materials. These may include wood for the frame, screws, washers, and bolts to hold everything together, as well as a suitable target face to attach to your stand. It’s important to ensure that the materials you choose are robust and durable, as they will need to withstand the force of repeated arrow strikes.
Overview of Tools Needed
Equally important are the tools you’ll need to build your archery target stand. This may include a saw, drill, measuring tape, and screwdriver, among other things. Make sure you have all the necessary tools on hand before you start building. It will make the process much smoother and more enjoyable.
Designing Your Archery Target Stand
Some of the most important aspects of creating an archery target stand are the design and construction. Before you begin building, it’s important to consider the size, portability, and the type of design that will best suit your needs and shooting environment.
Determining the Size and Portability
When designing your archery target stand, it’s essential to consider the size and portability. If you plan to use the target stand in different locations or need to transport it frequently, you’ll want to ensure it’s not too heavy or bulky. Additionally, consider the size of the target face you’ll be using, as well as the distance you’ll be shooting from, as this will determine the overall dimensions of the stand.
Selecting the Appropriate Design for Your Needs
When selecting the design for your archery target stand, consider your specific needs and shooting environment. If you’ll be shooting in a backyard or other confined space, you may want a stand that can easily be moved or folded for storage. Alternatively, if you plan to use the stand in a more permanent location, you might opt for a more robust, stationary design. Additionally, consider the type of target you’ll be using, such as a bag target or 3D target, as this will also influence the design of your stand.

Construction of the Archery Target Stand
Now that you have gathered all the necessary materials, it’s time to start constructing your archery target stand. This process requires some carpentry skills, but with the right instructions, you will be able to create a sturdy and durable stand for your target.
Step-by-Step Assembly Instructions
First, you will need to cut the PVC pipes to the appropriate lengths. Here is a handy guide to help you with the measurements:
| Length | Quantity |
| 24 inches | 4 |
| 48 inches | 2 |
Once the PVC pipes are cut, you will need to assemble them by connecting the T-joints and elbow joints. This will form the frame of the target stand. Then, attach the plywood sheet to the frame using screws to create the surface for the target to be placed. Finally, secure the target stand to the ground using the stakes, ensuring stability during use.
Safety Tips and Best Practices
When constructing your archery target stand, always wear protective gear such as goggles and gloves to prevent injury. Make sure to use a sawhorse or workbench to secure the PVC pipes during cutting to avoid accidents. Additionally, be cautious when using power tools and always follow the manufacturer’s guidelines for safe usage.
- Always check the stability of the target stand before using it.
- Clear the area around the target stand of any obstacles or debris to create a safe shooting environment.
- Never stand directly behind the target when someone is shooting arrows to prevent potential accidents.
After following these safety tips and assembling your archery target stand, you can enjoy practicing your archery skills with peace of mind, knowing that you have taken the necessary precautions for a safe and enjoyable experience.
Maintenance and Care
Not only is it important to know how to build an archery target stand, but it is equally crucial to know how to maintain and care for it. By taking good care of your archery target stand, you can ensure its longevity and functionality for years to come.
Routine Inspection and Repair
Regularly inspect your archery target stand for any signs of wear and tear. Look for cracks, warping, or any loose components that may compromise its stability. If you notice any issues, address them immediately to prevent further damage. Performing routine maintenance will keep your target stand in top condition and extend its lifespan.
Longevity Tips for Your Archery Target Stand
Proper care and maintenance can significantly prolong the life of your archery target stand. To ensure its longevity, store the stand indoors when not in use to protect it from the elements. Keep it clean and dry to prevent rust or deterioration. Additionally, avoid overexerting the stand by using it with excessively powerful bows or crossbows.
- Store your archery target stand indoors when not in use
- Keep the stand clean and dry to prevent rust or deterioration
- Avoid overexerting the stand with powerful bows or crossbows
The proper care and maintenance of your archery target stand are essential for its continued performance. By regularly inspecting and repairing any damage, as well as following longevity tips, you can ensure that your target stand remains in top condition for all your archery practice sessions.

Conclusion
Now that you have learned how to make an archery target stand, you can confidently set up your own practice area. By following these simple steps and using affordable materials, you can create a sturdy and durable target stand that will withstand the impact of your arrows. Remember to regularly check and maintain your stand to ensure safety and optimal performance. With your homemade target stand, you can improve your archery skills and enjoy many hours of practice in your own backyard or local archery range.
FAQ
Q: What materials do I need to make an archery target stand?
A: To make an archery target stand, you will need four pieces of 2×4 lumber, a saw, measuring tape, wood screws, and a drill. You may also want to consider purchasing a foam or straw archery target to attach to your stand.
Q: What are the measurements for an archery target stand?
A: The typical dimensions for an archery target stand are around 4 feet wide by 4 feet tall. However, you can adjust the measurements to fit your specific target. You will want to ensure that the stand is stable and sturdy to prevent it from tipping over when struck by arrows.
Q: How do I assemble an archery target stand?
A: First, cut your 2×4 lumber to the desired lengths for the vertical and horizontal pieces of the stand. Then, use your measuring tape and drill to attach the pieces together using wood screws. Make sure to follow a sturdy and stable design, and potentially provide support for your target. Lastly, you can attach your archery target to the stand using straps or screws, and you’re ready to start practicing your archery skills.


