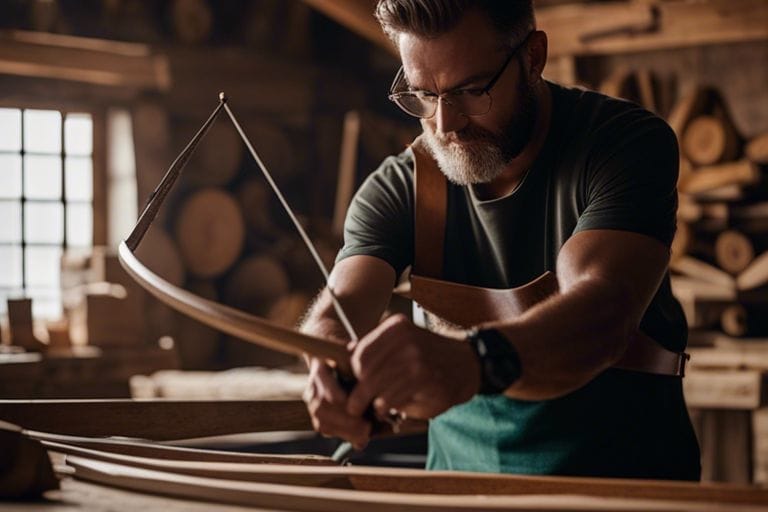
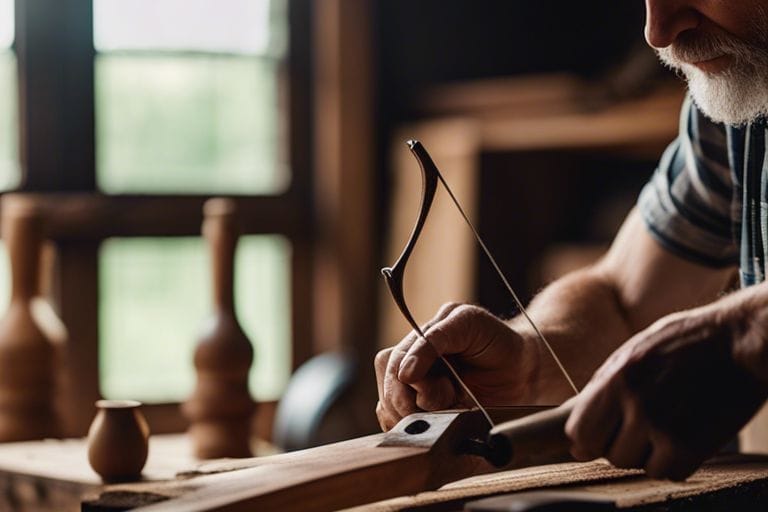
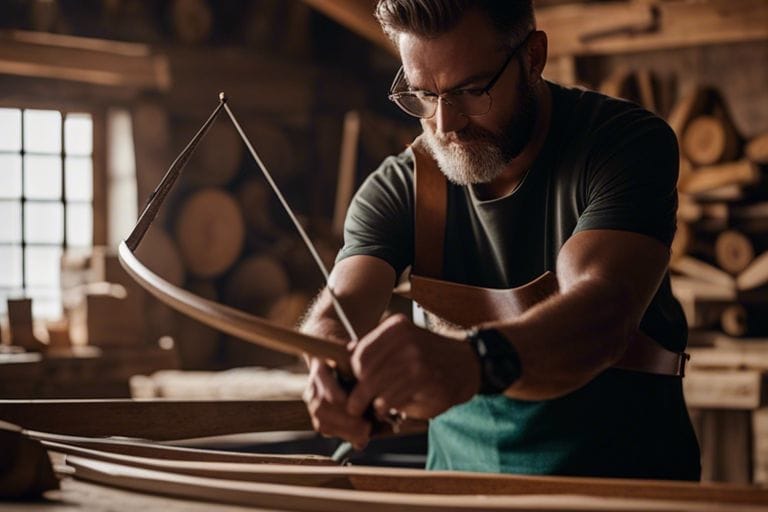
Have you ever wanted to try your hand at crafting your own archery bow? Your desire to embrace the ancient art of archery is commendable, and with the right guidance, you can create a functional and beautiful bow that will enhance your skills and bring a sense of accomplishment.
In this informative blog post, we will provide you with step-by-step instructions on how to make your own archery bow, using traditional materials and techniques. Whether you are a seasoned archer or a beginner, the process of making your own bow will deepen your understanding of the sport and allow you to truly connect with this timeless skill. So let’s get started on creating your very own custom archery bow!
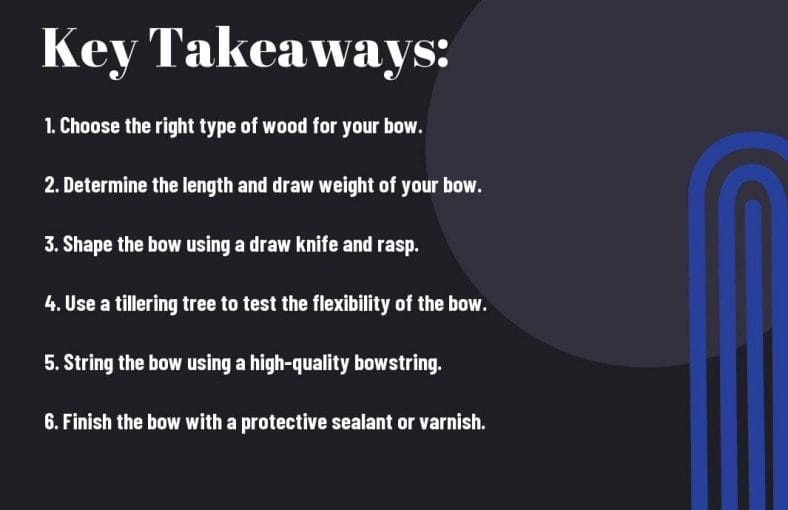
Key Takeaways:
- Choose the right wood: Select a strong, flexible wood such as yew, hickory, or osage orange for the main body of the bow.
- Shape the bow carefully: Use precise measurements and shaping tools to create a symmetrical and balanced bow, ensuring proper tension and draw strength.
- String the bow properly: Use high-quality bowstring made from materials like Dacron or Fast Flight, and ensure it is securely attached to the notches at both ends of the bow.

Materials and Tools
Assuming you have a passion for archery and a love for handcrafting, making your own archery bow can be a rewarding and satisfying experience. To get started, you will need a few essential materials and tools to begin your project. If you’re a visual learner, you can watch this step-by-step tutorial on How to Build a Bow – Very Simple Homemade Bow – YouTube to get a better idea of the process.
Selecting the Right Wood for Your Bow
When it comes to crafting a bow, selecting the right type of wood is crucial. You’ll want to choose a strong, flexible wood that can handle the tension of the bowstring. Common options include hickory, yew, ash, and maple. Each type of wood has its own unique properties, so it’s important to do your research and choose the one that best suits your needs. Remember, the quality of the wood will have a direct impact on the performance and durability of your bow.
Essential Tools for Crafting a Bow
To successfully craft a bow, you’ll need to have the right tools at your disposal. Essential tools include a draw knife, rasp, spokeshave, file, and a tillering tree or jig. These tools will allow you to shape, smooth, and adjust the bow to ensure it’s strong and functional. Having the right tools will make the crafting process much easier and more enjoyable, so it’s worth investing in quality tools that will last for many projects to come.

Designing Your Bow
One of the most exciting aspects of making your own archery bow is designing it to fit your specific needs and preferences. The design of your bow will impact its performance, so it’s important to consider various factors such as the bow’s length, draw weight, and the shaping techniques you’ll employ.
Determining the Bow’s Length and Draw Weight
When designing your bow, it’s crucial to consider its length and draw weight. The length of your bow will impact its speed, accuracy, and smoothness of draw. Your draw weight, on the other hand, will affect the force required to pull back the bowstring. These factors should be matched to your individual strength and shooting style to optimize your bow’s performance.
Shaping the Bow: Tips and Techniques
Shaping your bow is an essential part of the design process. The shaping will not only impact the aesthetics of your bow but also its performance. You can employ techniques such as heat bending, tillering, and wood carving to shape your bow to your desired form. Using proper tools and techniques will ensure that your bow is both functional and visually appealing. Consider the type of wood you use, the shape of the limbs, and the placement of the handle to achieve an optimal design.
- Ensure that the limbs are evenly balanced
- Shape the handle for a comfortable grip
- Thou may also consider adding decorative elements such as carvings or inlays to personalize your bow.
Constructing the Bow
For thousands of years, people have been crafting their own archery bows. While modern bows are often made from synthetic materials, there is something incredibly rewarding about making your own bow from scratch. In this chapter, we will guide you through the process of constructing a traditional wooden bow, from selecting the right wood to adding the finishing touches.
Staving: Preparing the Wood
Before you begin constructing your bow, you need to select the right wood. Osage orange, yew, and bamboo are popular choices for traditional bows, but you can also use hickory, ash, or maple. Once you have chosen your wood, you will need to rough out the basic shape of the bow by splitting the stave and removing the bark. This process, known as staving, requires careful attention to the wood’s grain, as well as an understanding of the bow’s design and the characteristics of the wood you are working with.
Tiller Process: Creating the Perfect Curve
Once you have prepared the stave, it’s time to begin the tiller process. This involves carefully shaping the bow and creating the perfect curve. You will need to remove wood from specific areas of the bow to achieve the desired draw weight and performance. This is a delicate process that requires patience and precision, as the slightest mistake could affect the bow’s performance and even lead to breakage. Understanding the principles of tillering and having the right tools are crucial to achieving the perfect curve for your bow.
Adding the Bowstring and Finishing Touches
With the basic shape and curve of the bow perfected, it’s time to add the bowstring and make the finishing touches. The bowstring should be made from a strong, durable material like Dacron or Fast Flight. As for the finishing touches, this could involve adding a grip, applying a protective finish to the wood, and adding any additional decorative elements you desire. These final steps are essential for ensuring the bow is comfortable to shoot, protected from the elements, and visually appealing.
Shooting and Maintenance
Now that you have learned how to make your own archery bow, it’s time to learn how to properly shoot and maintain it. This will ensure that you get the most enjoyment out of your handcrafted bow and that it remains in top condition for years to come.
Proper Shooting Technique with Your New Bow
Not only does having the right technique improve your accuracy, but it also prevents injury to yourself and damage to your bow. When shooting with your new bow, make sure to stand with your feet shoulder-width apart, pointing towards the target. Keep a slight bend in your elbow and draw the bowstring back to the anchor point on your face, while keeping your hand and wrist relaxed. Focus on your target and release the arrow smoothly, without jerking the bow or your hand. Remember to follow through with your shot, keeping the bow arm extended until the arrow reaches the target. With practice, you will develop a consistent and steady shooting technique that will greatly improve your accuracy.
Care and Maintenance of Your Handcrafted Bow
By taking proper care of your handcrafted bow, you can ensure that it stays in good condition and performs at its best. After each use, inspect the bow for any signs of damage or wear, such as fraying of the strings or cracks in the limbs. Clean the bow and strings regularly to remove any dirt or debris, and store it in a cool, dry place when not in use. It’s also a good idea to periodically wax the bowstring to keep it in good condition. By following these maintenance tips, you can prolong the lifespan of your handcrafted bow and continue to enjoy using it for years to come.

Conclusion
Drawing together all the steps in making an archery bow, you can see that it is a complex yet rewarding process. From selecting the right wood and materials to shaping and tillering the bow, each step requires careful attention to detail and precision.
By following the tips and instructions outlined in this guide, you can create a functional and effective bow that suits your needs and preferences. The satisfaction of crafting your own bow and the joy of using it to improve your archery skills make the effort well worth it. With patience and practice, you can become adept at making your own bows, ensuring that you always have a reliable and personalized tool for your archery pursuits.
FAQ
What materials are needed to make an archery bow?
To make a traditional archery bow, you will need a piece of seasoned wood such as yew, ash, or hickory, as well as a bow string made of Dacron or Spectra material. You will also need a suitable glue, such as hide glue, for attaching the bow’s components together.
What are the key steps in making an archery bow?
The key steps in making an archery bow include selecting the right piece of wood and cutting it to the appropriate length and shape. You will then need to carefully tiller the bow, which involves removing wood in a precise manner to achieve the desired bend and flexibility. Finally, you will need to string the bow and test it for proper function and performance.
Are there any safety precautions to keep in mind when making an archery bow?
Yes, there are several safety precautions to keep in mind when making an archery bow. Always wear proper eye protection when working with wood and tools. Use caution when cutting and shaping the wood to avoid injury. Additionally, take care when testing the bow to ensure it does not break or cause harm. Finally, be mindful of the tension of the bowstring to prevent snapping or other accidents.


