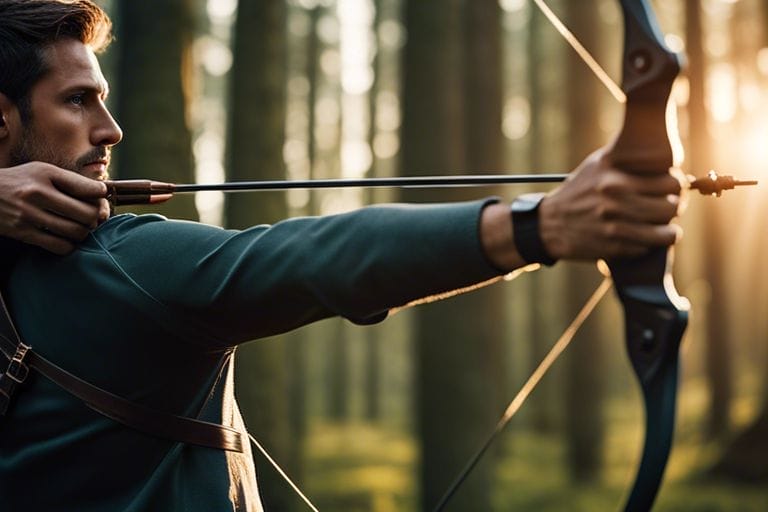
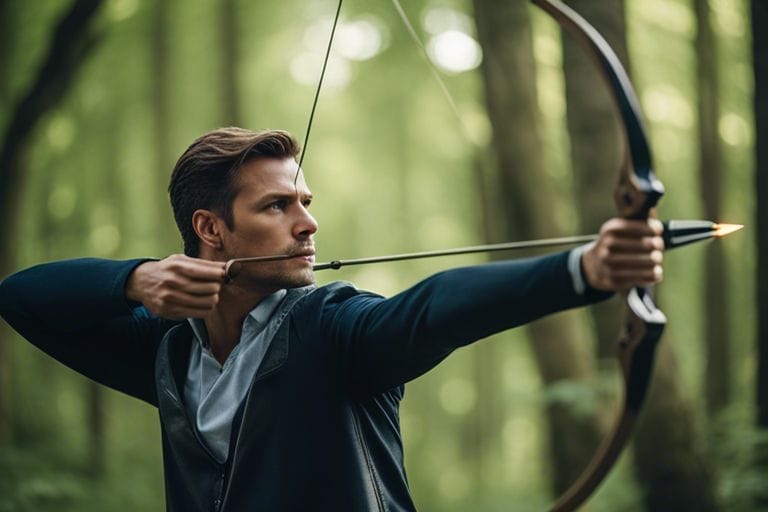
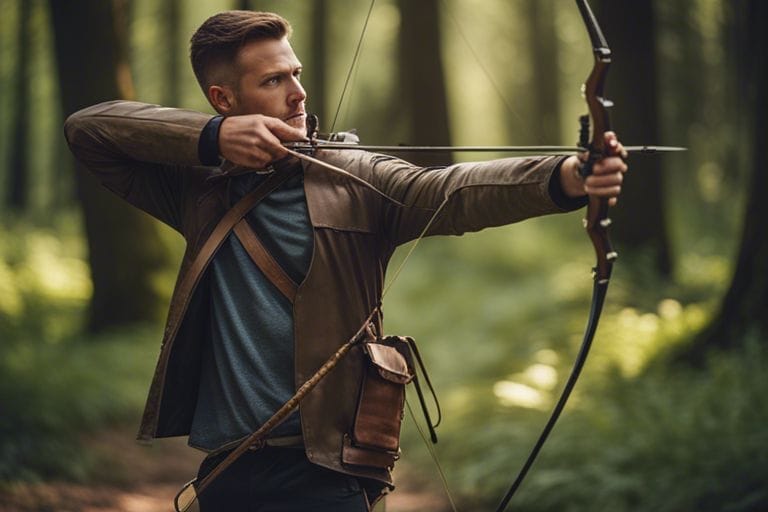
Learning how to properly draw a bow in archery is a fundamental skill that every archer must master. The process of drawing a bow is not just about pulling back the string and releasing, but it requires precision, strength, and technique. It is essential to understand the correct form and steps to ensure accuracy and efficiency in your shots. In this blog post, you will learn the step-by-step process of how to draw a bow in archery, as well as key tips to improve your form and performance. By mastering this skill, you will become a more skilled and confident archer. Let’s get started!
Key Takeaways:
- Proper Grip: Ensuring a consistent and comfortable grip on the bow is essential for accuracy and control.
- Anchor Point: Identifying and consistently anchoring the bowstring at the same point on your face or body is crucial for consistent shots.
- Follow-Through: Maintaining proper form and continuing the motion after releasing the arrow will help improve accuracy and distance.

Understanding the Bow
Obviously, before you can start drawing a bow in archery, it’s important to understand the different components and types of bows available. This will not only help you choose the right bow for your needs but also ensure you draw it correctly for optimal performance.
Types of Bows
There are several types of bows commonly used in archery, including the recurve, compound, longbow, and crossbow. Each type has its own unique characteristics and is suitable for different purposes. Recognizing the differences between these types of bows will help you make an informed decision when selecting the right bow for your archery practice.
- Recurve: known for its curved tips, which give it more power compared to a straight-limbed bow.
- Compound: utilizes a system of cables and pulleys to provide a mechanical advantage, allowing for more power and accuracy.
- Longbow: characterized by its simple, straight limbs, and traditional design.
- Crossbow: a horizontal bow mounted on a stock that shoots projectiles.
Anatomy of a Bow
When it comes to the anatomy of a bow, there are several key components you need to be familiar with. This includes the limbs, riser, grip, string, and arrow rest. Understanding how each of these elements contributes to the overall function of the bow will give you a better grasp of how to draw it effectively.

Preparing to Draw
One of the most crucial aspects of archery is the preparation before drawing the bow. Proper technique and equipment are essential for a successful draw and release.
Essential Equipment
Before you draw your bow, it’s important to ensure you have the essential equipment for a successful shot. This includes a well-fitted bow, arrows that are suited to your draw length and bow weight, a properly adjusted arrow rest, and a reliable release aid. Without these key pieces of equipment, your draw may be compromised, leading to inaccurate shots and potential injury.
The Archer’s Stance
The position of your body and feet when preparing to draw your bow is crucial for stability and accuracy. Your feet should be shoulder-width apart, with your body facing the target. As you prepare to draw, make sure your weight is evenly distributed on both feet, and your upper body is relaxed. Your posture and stance play a significant role in the success of your draw and release, so take the time to find a comfortable and stable position before drawing your bow.
The Drawing Technique
To draw a bow for archery, you will need to use a specific technique to ensure accuracy and safety. Proper drawing technique involves hand and finger placement, as well as drawing the bow safely and effectively.
Hand and Finger Placement
When drawing a bow, your hand and finger placement is crucial for maintaining control and accuracy. Your drawing hand should grip the bow handle with a relaxed and firm grip, with your fingers wrapping around the front of the bow. Your release hand should use a consistent and comfortable three-finger anchor, with the index finger above the arrow nock and the other two fingers below. This placement allows for a smooth and consistent release, leading to a more accurate shot.
Drawing the Bow Safely and Effectively
It is essential to draw the bow safely and effectively to prevent injury and ensure a successful shot. When drawing the bow, maintain a straight and relaxed posture, with your shoulders squared and aligned with the target. As you draw the bowstring, use your back muscles to pull the string back to your anchor point, rather than relying solely on your arm strength. This technique creates a more stable draw and results in a smoother release, improving your accuracy and consistency.
Finishing the Shot
Unlike other elements of the shot, the finishing process is crucial to ensuring accuracy and consistency. Once you have successfully drawn your bow, the next step is to focus on your finishing technique. This involves anchoring, aiming, releasing, and follow-through. Let’s break down each of these components to help you master the art of drawing a bow in archery.
Anchoring and Aiming
After drawing your bow, it’s essential to anchor your position to ensure stability and accuracy. This involves finding a comfortable and consistent position for your anchor point – typically the corner of your mouth or chin. While anchoring, focus on aiming at your target. Align your peep sight and pins with the target, and visualize the arrow’s trajectory to improve your accuracy.
Release and Follow-Through
Once you have anchored and aimed, the final steps are releasing the arrow and maintaining a proper follow-through. As you release, focus on a smooth and consistent motion, ensuring that your hand does not torque or influence the flight of the arrow. Following the release, maintain your form and keep your bow arm steady until the arrow hits the target. This follow-through ensures that your shot is completed with proper form and technique.
Practice and Troubleshooting
Keep in mind that drawing a bow is a skill that requires practice to master. It’s important to stay patient and dedicated to improving your technique. Regular practice will help you build muscle memory and improve your form. However, it’s also important to troubleshoot any issues that may arise during practice to ensure that you are progressing effectively.
Common Beginners’ Mistakes
One common mistake that beginners often make is gripping the bow too tightly. This can lead to inconsistency in your shots and affect your accuracy. It’s important to maintain a relaxed grip on the bow to allow for a smoother release. Another common mistake is failing to maintain proper posture and alignment. Make sure to stand with your feet shoulder-width apart and keep your shoulders square to the target to ensure a consistent draw and release.
Improving Accuracy and Consistency
To improve your accuracy and consistency, focus on your anchor point. Consistently anchoring your draw hand to the same spot on your face or jawline will help you achieve more consistent shots. Additionally, pay attention to your sight picture and ensure that you are aiming consistently each time you draw the bow. Practice proper breathing techniques and focus on a smooth release to improve your overall accuracy.
Conclusion
Taking this into account, learning how to draw a bow in archery requires practice, patience, and proper technique. By understanding the fundamentals of proper stance, grip, and drawing motion, you can improve your accuracy and consistency in shooting. Remember to focus on your form, breathing, and release to maximize your potential and become proficient in using a bow. With dedication and persistence, you can master the art of drawing a bow and become a skilled archer. Keep practicing and refining your skills to achieve your goals in archery.
FAQ: How to Draw a Bow in Archery
Q: What is the correct way to hold a bow?
A: When drawing a bow in archery, begin by gripping the bow handle with the non-dominant hand. The fingers should wrap around the handle, and the wrist should be straight. Ensure that the grip is firm but not too tight to allow for flexibility during the draw and release.
Q: What is the proper technique for drawing the string?
A: To draw the bowstring, use the fingers of your dominant hand to hook onto the string. Place your index finger above the arrow nock and your middle and ring fingers below the arrow nock. Pull the string back smoothly and evenly, using the back muscles to maintain a consistent draw length. As you draw the string, keep your elbow high and your shoulders relaxed to avoid tension and maintain a straight line from the drawing hand to the arrow rest.
Q: How should I position my body while drawing a bow in archery?
A: Proper body alignment is crucial when drawing a bow. Stand with your feet shoulder-width apart and perpendicular to the target. Keep your torso straight and square to the target while maintaining a slight forward lean at the waist. As you draw the bowstring, keep your head in line with your spine and avoid tilting to either side. This stance will help ensure proper balance and stability while drawing and releasing the bow.


